Follow Me On Social Media!
Red Velvet Cupcakes: Irresistibly Moist for Every Celebration
Introduction to Red Velvet Cupcakes
When you think of red velvet cupcakes, a rich tapestry of flavors and vibrant color comes to mind, evoking a sense of indulgence and joy that’s hard to resist. These delightful treats, with their striking red hue and velvety texture, are more than just a dessert; they’re a celebration on a plate. Bread and butter of countless birthday parties and romantic dinners, they carry a charm that sparks nostalgia for many of us. But have you ever wondered where this enticing dessert originated and what makes it so special?
What makes red velvet cupcakes so special?
The allure of red velvet cupcakes lies in their unique combination of flavors and textures. Unlike traditional chocolate or vanilla cupcakes, these little masterpieces are made with a subtle hint of cocoa powder, which is complemented by a touch of buttermilk that gives them an incredibly moist and tender crumb. This delightful contrast creates a flavor that’s sophisticated yet approachable, making them perfect for any occasion.
Key aspects that elevate red velvet cupcakes include:
-
The red color: Traditionally achieved through the reaction between cocoa powder and acid, it wasn’t until the introduction of red food dye that these cupcakes became the vibrant staples we know today.
-
Cream cheese frosting: The tangy cream cheese frosting perfectly offsets the sweetness of the cupcake, creating a well-rounded dessert experience that leaves you wanting more.
-
Historical significance: Originally a Southern classic, red velvet was once viewed as an upscale dessert, often featured in fine dining restaurants. Today, it’s embraced by food enthusiasts everywhere.
Not only do red velvet cupcakes look stunning, but they also have a story that connects generations. Whether it’s the joy of baking with loved ones or the excitement of celebrating special moments, these cupcakes have a way of weaving themselves into our lives. The next time you whip up a batch, take a moment to appreciate the tradition and taste behind them.
Key Ingredients for Red Velvet Cupcakes
Red velvet cupcakes are not just a treat; they’re a festive celebration all by themselves. The rich red color and divine texture come from a careful blend of ingredients designed to create a memorable dessert experience.
-
Cocoa Powder: The secret behind that subtle chocolate flavor lies in high-quality unsweetened cocoa powder. It adds depth without overwhelming the iconic red hue, making every bite a delightful surprise.
-
Buttermilk: To achieve that moist, tender crumb in your red velvet cupcakes, buttermilk is a must. Its acidity activates baking soda, creating a lightness that’s simply irresistible. If you’re in a pinch, you can substitute with regular milk mixed with a splash of vinegar.
-
Vegetable Oil: Using oil instead of butter allows for a moist texture that butter just can’t achieve on its own. It may seem like a small change, but it makes a significant difference in keeping the cupcakes soft and fluffy.
-
Eggs: Fresh eggs bind the batter together and add richness. Ensure they’re at room temperature for the best results, as this helps to blend smoothly with the other ingredients.
-
Vanilla Extract: A splash of high-quality vanilla extract elevates the flavor profile, providing that warm, familiar taste that complements the cocoa beautifully.
-
Red Food Coloring: Finally, the distinctive red color comes from food coloring. Don’t skimp on this; a good quality red gel or liquid will give you the vibrant hue that makes these cupcakes wow-worthy.
Why You’ll Love These Red Velvet Cupcakes
There’s something undeniably enchanting about red velvet cupcakes that makes them a must-try for any dessert lover. Picture this: a soft, velvety crumb adorned with a stunning ruby hue, topped off with a luscious cream cheese frosting. These beauties not only look impressive but also taste divine, making them perfect for any occasion, whether it’s a casual get-together or a lavish celebration.
The Perfect Balance of Flavors
One of the best aspects of these red velvet cupcakes is their unique flavor profile. The hint of cocoa elevates the sweetness just right. Accompanied by the slight tanginess of cream cheese frosting, every bite offers a delightful contrast that keeps you wanting more.
A Beautiful Presentation
The vibrant color of these cupcakes makes them a visual centerpiece at any gathering. It’s almost as if they were made to be admired before they’re devoured. Guests will undoubtedly be drawn to their beauty, and when they take that first bite, you’ll bask in delight watching their faces light up.
Fun to Make
Let’s not forget the joy of baking! The process of whipping up these red velvet cupcakes is not only easy but also fun, especially if you invite friends over. The aroma filling your kitchen will have everyone eagerly anticipating the deliciousness to come.
So, what are you waiting for? Dive into this recipe and discover why these cupcakes are beloved by many!
Tips for Making Perfect Red Velvet Cupcakes
Creating red velvet cupcakes may seem daunting, but with a few thoughtful tips, you can achieve bakery-quality results right at home. Let’s dive into these essential insights that promise to elevate your cupcake game.
Choose the Right Cocoa Powder
For that signature red velvet flavor, opt for high-quality unsweetened cocoa powder. This not only enhances the taste but also contributes to the beautiful color. Remember, the better the cocoa, the richer your cupcakes will be!
Don’t Skimp on the Buttermilk
Buttermilk adds moisture and a slight tang, which is crucial for the cupcake’s texture. If you don’t have buttermilk on hand, you can easily make your own by adding a tablespoon of vinegar or lemon juice to a cup of milk. Let it sit for about five minutes before using.
Measure Ingredients Carefully
Baking is a science, and accurate measurements are key. Use a kitchen scale or measuring cups to ensure you have just the right amount of flour, sugar, and cocoa powder. Too much flour can lead to dense, dry cupcakes.
Use Room Temperature Ingredients
Allow your ingredients, especially eggs and butter, to come to room temperature before mixing. This helps them incorporate better, which results in a lighter, fluffier cupcake.
Don’t Overmix the Batter
Once you combine your wet and dry ingredients, mix just until everything is incorporated. Overmixing can lead to tough cupcakes, and nobody wants that. Gently fold in the ingredients for a tender crumb.
Incorporating these tips will surely make your red velvet cupcakes a hit for any occasion!
Time Breakdown for Red Velvet Cupcakes
Making red velvet cupcakes is a delightful process filled with anticipation. Here, we outline the time it typically takes from start to finish, so you can plan your baking session efficiently.
Preparation time
The preparation for these luscious red velvet cupcakes takes about 20 minutes. During this time, you’ll gather your ingredients and prepare the batter, ensuring everything is perfectly mixed.
Baking time
Once you’ve prepped the batter, it’s time to bake! The cupcakes generally require around 20 minutes in the oven. You’ll want to keep an eye on them to ensure they rise beautifully without overbaking.
Total time
From start to finish, you’ll spend about 40 minutes to create these delicious red velvet cupcakes. Trust me, every minute is worth the wait when that rich aroma fills your kitchen!
Nutritional Information for Red Velvet Cupcakes
Red velvet cupcakes are not just a delightful treat; they also offer interesting nutritional insights. These cupcakes are perfect for a celebration or a cozy afternoon snack, and it’s good to know what you’re indulging in.
Calories
A standard red velvet cupcake contains approximately 300 calories. While they may be a bit indulgent, this sweet treat can fit into an average daily caloric intake when enjoyed in moderation.
Protein
You can expect about 3 grams of protein per cupcake. Although it’s not a high-protein option, the addition of ingredients like buttermilk adds a little nutritional boost to your dessert.
Sodium
Each red velvet cupcake has around 250 mg of sodium, primarily from the salted butter and buttermilk used in the recipe. Being aware of sodium levels can help you enjoy these cupcakes without any guilt.
FAQs about Red Velvet Cupcakes
Red velvet cupcakes aren’t just a treat; they intertwine love, celebration, and rich culinary tradition. They’ve become a cherished favorite for birthdays and special occasions, leaving a trail of unforgettable memories. If you’re diving into the world of red velvet cupcakes, you might encounter a few questions along the way.
How can I make my red velvet cupcakes more moist?
Moisture is vital for achieving the perfect red velvet cupcake. Here are some tips:
- Use buttermilk: This ingredient not only adds a subtle tang but also keeps cupcakes tender and moist.
- Add an extra egg: Incorporating an additional egg yolk can help enhance the moisture and richness of your cupcakes.
- Don’t overmix: Mix your batter until just combined, as overmixing can lead to dryness.
- Include vegetable oil: Oil retains moisture better than butter, so consider using a mix for that perfect texture.
What is the best way to store red velvet cupcakes?
To keep your red velvet cupcakes fresh and delicious:
- Cool completely: Allow them to cool fully before storing to avoid condensation.
- Airtight container: Place your cupcakes in an airtight container at room temperature, where they can last for about 2-3 days.
- Refrigeration: If frosted with cream cheese frosting, store them in the fridge. Just let them come back to room temperature before serving.
Can I use a different frosting for red velvet cupcakes?
Absolutely! While cream cheese frosting is the classic match, feel free to explore alternatives:
- Buttercream: A vanilla or chocolate buttercream can provide a sweet contrast.
- Whipped Cream: Light and airy whipped cream can perfectly balance the density of the cupcakes.
- Ganache: For a more decadent touch, use chocolate ganache to elevate your dessert experience.
These adjustments can help you customize your red velvet cupcakes to suit any palate!
Conclusion on Red Velvet Cupcakes
In the vibrant world of baking, red velvet cupcakes hold a special place, delighting both the eyes and the palate. Their unique color and rich flavor story blend together to create a memorable treat perfect for any occasion. Whether you’re celebrating a birthday, hosting a cozy gathering, or simply indulging your sweet tooth, these cupcakes bring joy and warmth to your table.
Taking the time to savor the delightful cream cheese frosting paired with the moist, tender cake is an experience worth having. So go ahead, whip up a batch, and share the love with friends and family – they’ll surely appreciate the deliciousness you’ve created!
Print
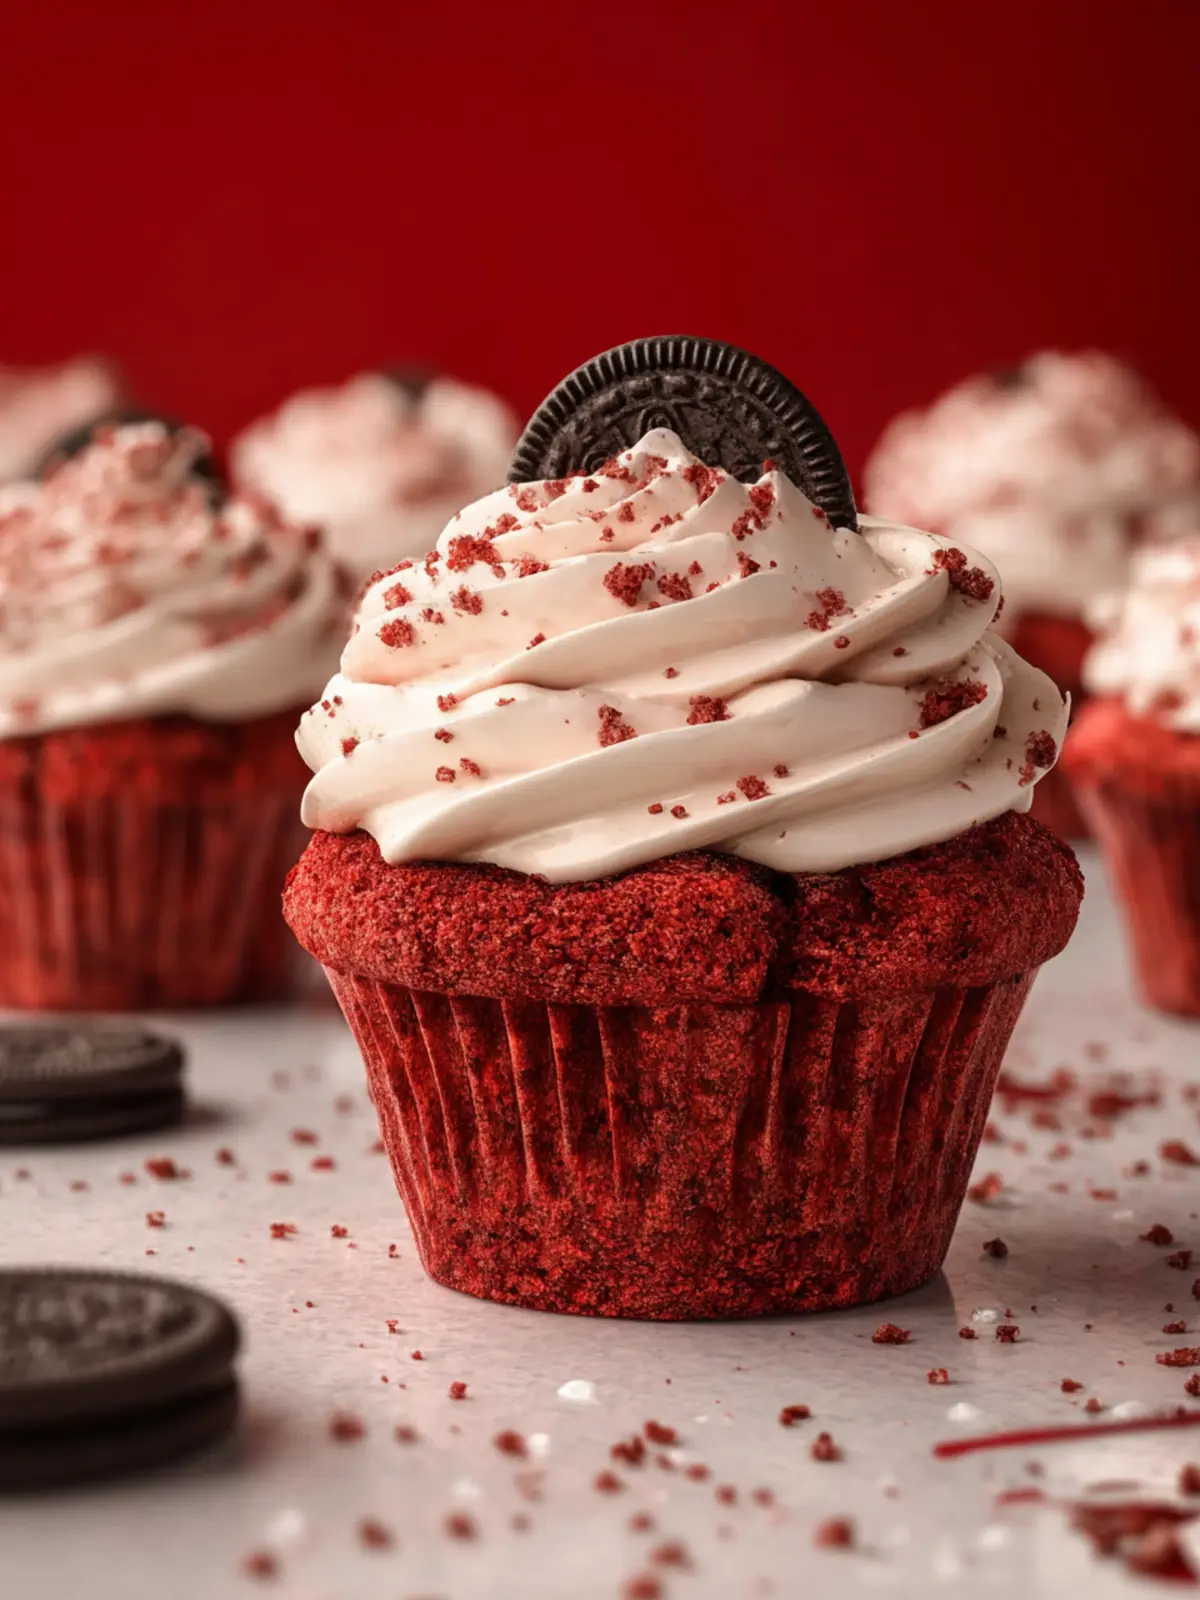
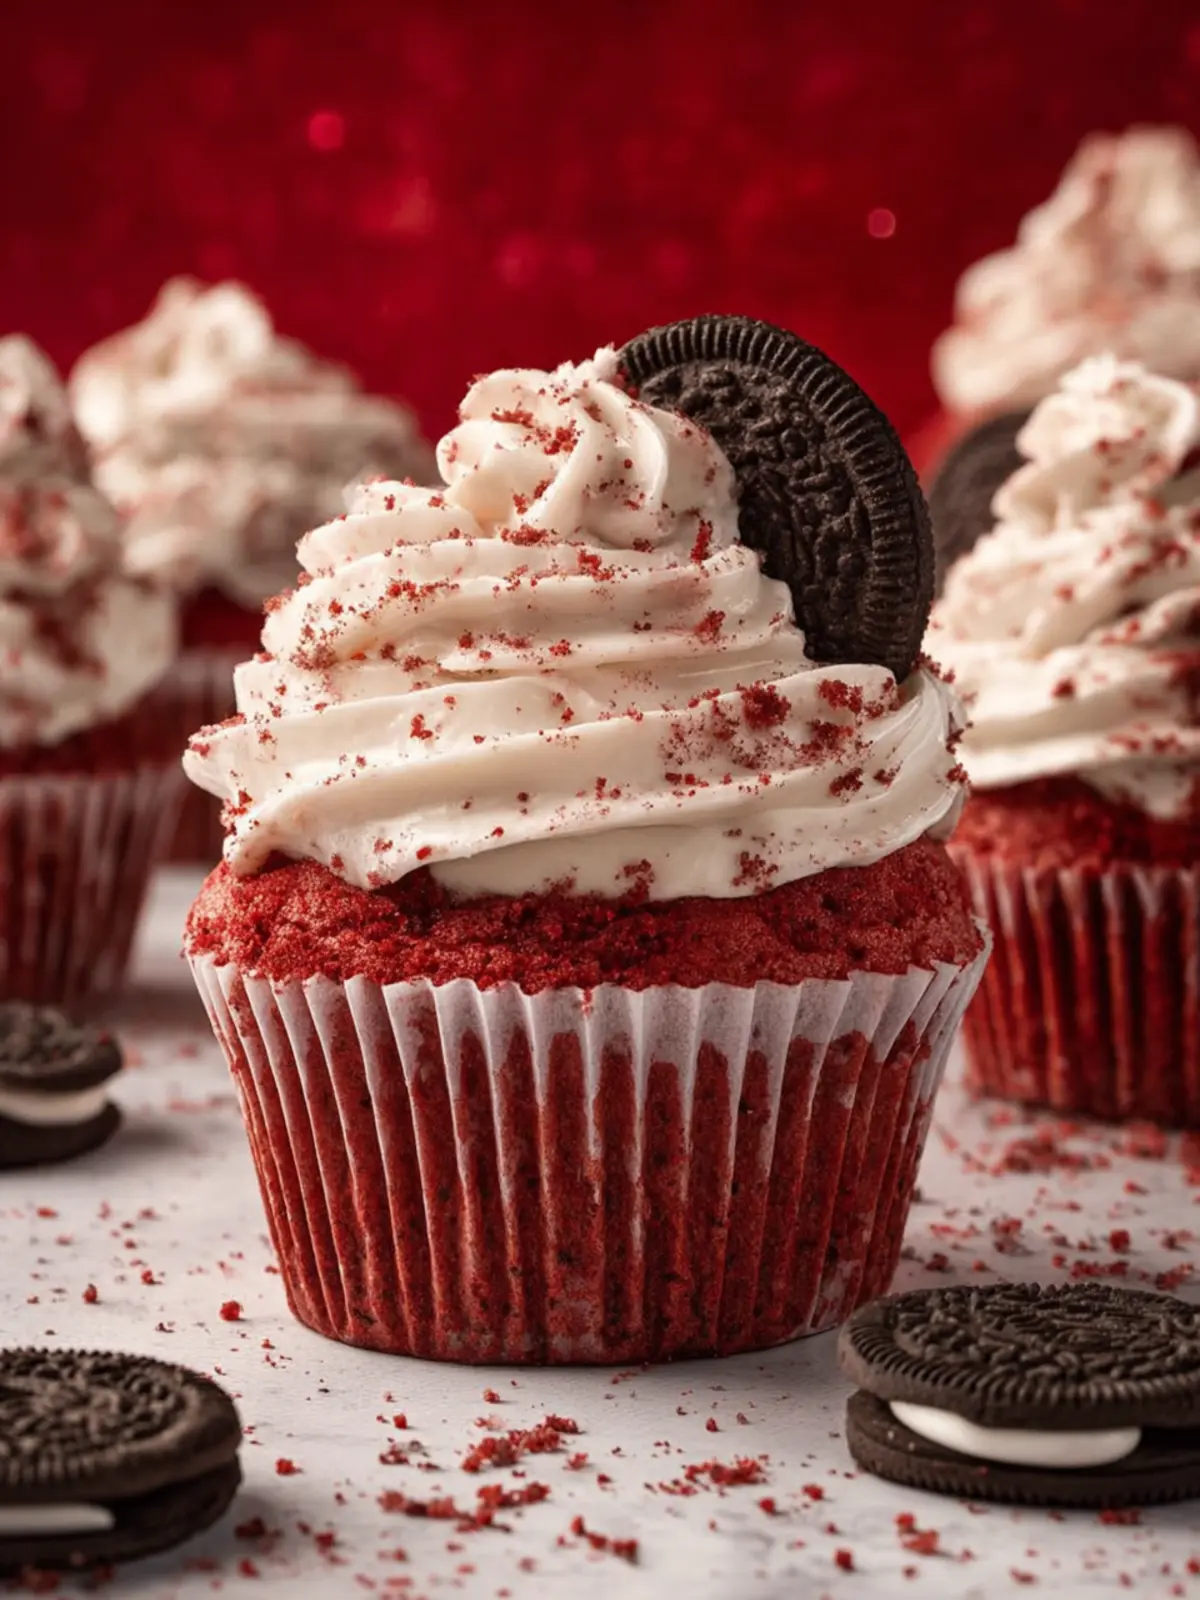
Red Velvet Cupcakes with Oreo Frosting
- Total Time: 42 minutes
- Yield: 24 cupcakes 1x
- Diet: vegetarian
Description
Delicious red velvet cupcakes topped with creamy Oreo frosting.
Ingredients
Scale
- 2 ½ cups all-purpose flour
- 1 ½ cups granulated sugar
- 1 teaspoon baking soda
- 1 teaspoon salt
- 1 teaspoon cocoa powder
- 1 ½ cups vegetable oil
- 1 cup buttermilk
- 2 large eggs
- 2 tablespoons LorAnn Oils Red Velvet Emulsion
- 1 teaspoon distilled white vinegar
- 1 teaspoon vanilla extract
- 1 package cream cheese (8 oz., softened)
- ½ cup butter (1 stick, softened)
- ½ teaspoon vanilla extract
- 2 cups powdered sugar
- 12 Oreos (coarsely crushed)
- additional Oreos (for garnish, if desired)
Instructions
- Preheat oven to 350°F. Line two 12-cup muffin pans with cupcake liners.
- In a medium bowl, whisk together the flour, granulated sugar, baking soda, salt, and cocoa powder. Set aside.
- In a large mixing bowl, add the vegetable oil, buttermilk, eggs, red velvet emulsion, vinegar, and vanilla extract. Beat with an electric mixer until combined.
- Add half of the dry ingredients to the wet ingredients and mix just until combined. Add the remaining dry ingredients and mix until smooth and fully incorporated. Do not overmix.
- Divide the batter evenly among the liners, filling each about ⅔ full.
- Bake for 20-22 minutes, or until a toothpick inserted in the center comes out clean.
- Let cupcakes cool in the pan for 5 minutes, then transfer to a wire rack to cool completely before frosting.
- In a large mixing bowl, beat the cream cheese and butter until smooth and creamy.
- Add the vanilla extract and powdered sugar. Beat until light and fluffy.
- Fold in the crushed Oreo cookies until evenly distributed.
- Frost cooled cupcakes using a piping bag or spatula. Garnish with halved Oreos if desired.
Notes
- Store frosted cupcakes in the refrigerator for best freshness.
- Use more or less cocoa powder for a lighter or darker flavor.
- Prep Time: 20 minutes
- Cook Time: 22 minutes
- Category: Dessert
- Method: bake
- Cuisine: American
Nutrition
- Serving Size: 1 cupcake
- Calories: 250
- Sugar: 28g
- Sodium: 200mg
- Fat: 12g
- Saturated Fat: 6g
- Unsaturated Fat: 4g
- Trans Fat: 0g
- Carbohydrates: 35g
- Fiber: 1g
- Protein: 3g
- Cholesterol: 50mg