Follow Me On Social Media!
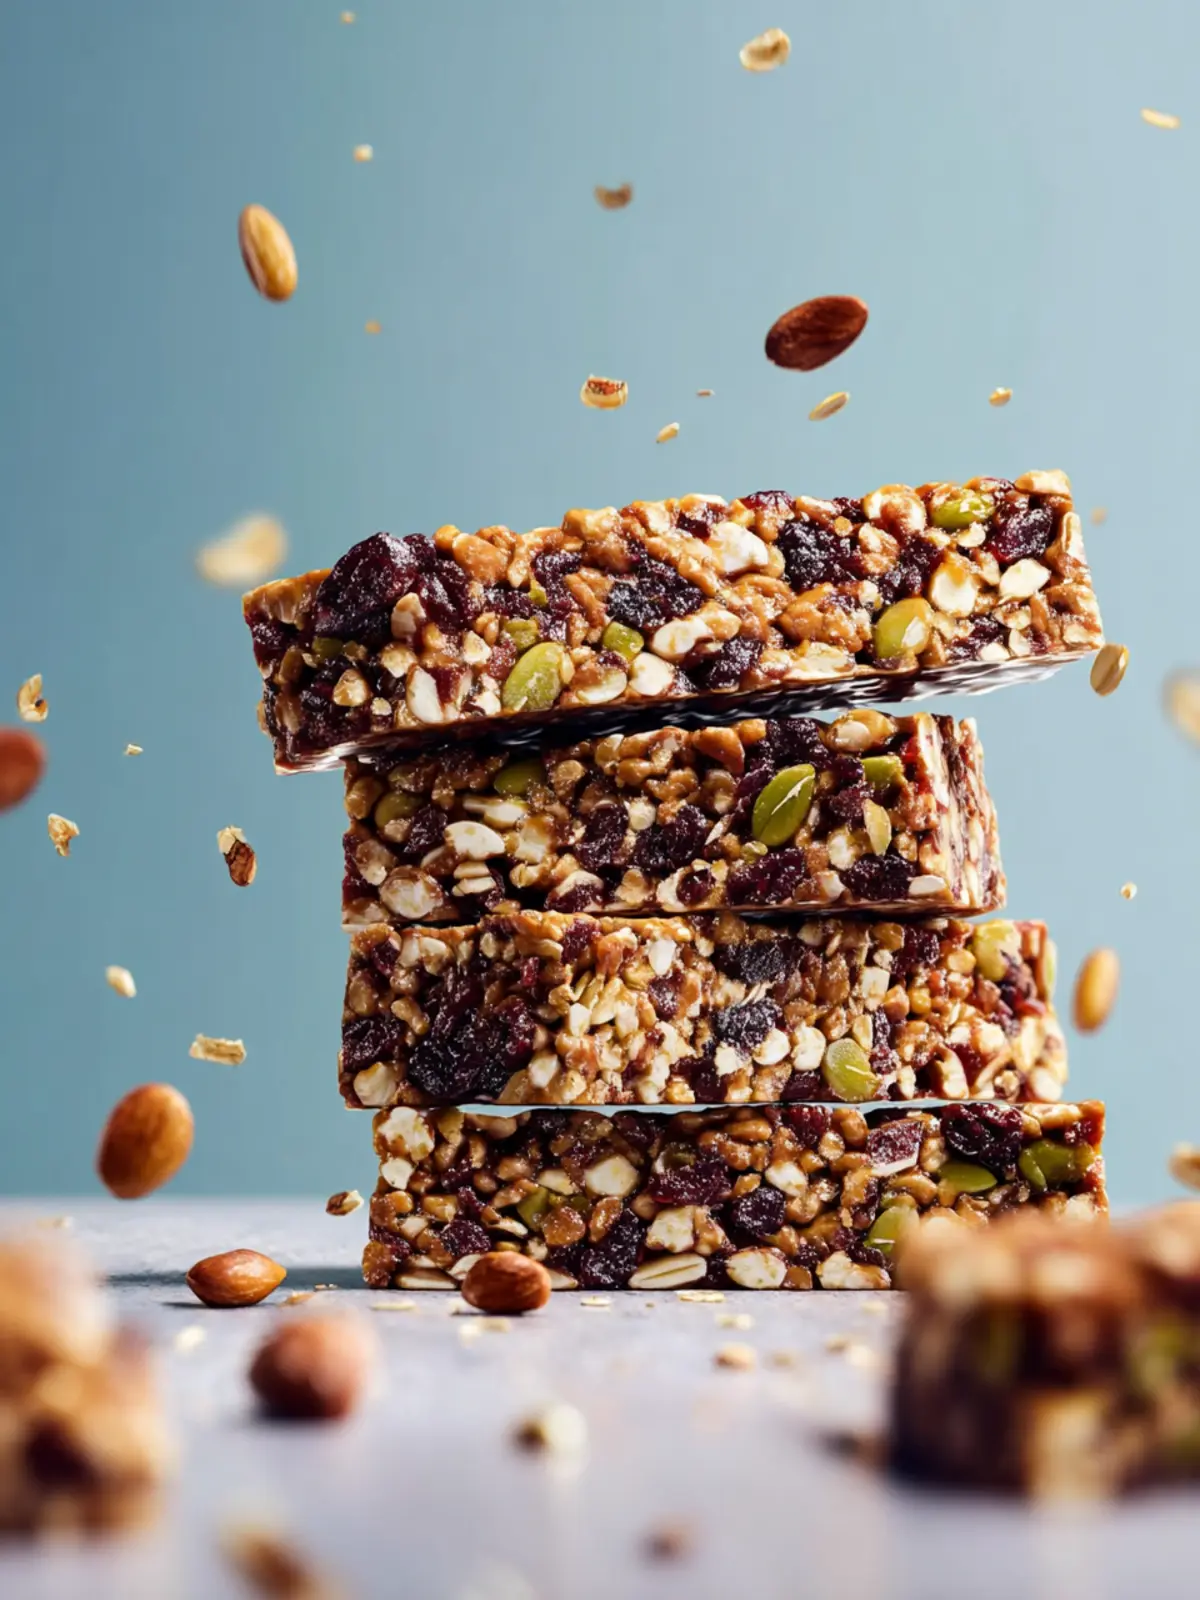
Granola Bars Made Easy: Irresistibly Chewy and Nutritious!
Introduction to Granola Bars
Homemade granola bars offer a delightful blend of flavor, texture, and nutrition that store-bought snacks often can’t match. Picture this: you’ve had a long day at work, and your energy is running low. You reach into your bag and pull out a chewy, nutty granola bar you made over the weekend. Suddenly, you’re hit with a wave of satisfaction, knowing exactly what goes into your snack—no mystery ingredients or artificial flavors here!
What makes homemade granola bars so special?
Creating your own granola bars gives you the freedom to experiment with flavors and textures while also ensuring they fit your dietary needs. Here are some reasons why homemade granola bars stand out:
-
Choose Your Ingredients: With homemade versions, you control everything from the type of nuts and seeds to sweeteners and binders. Prefer a nut-free option? Swap nuts for seeds or dried fruit. Want a hint of chocolate? Throw in some dark chocolate chips.
-
Customization for Health: You can tailor your granola bars to suit your nutritional preferences. Whether you’re aiming for higher protein, lower sugar, or even gluten-free, the possibilities are endless. For instance, by using oats and natural nut butters, you can create a filling snack that keeps you energized without the added sugars often found in commercial varieties.
-
Freshness at Its Best: There’s something incredibly satisfying about biting into a granola bar that’s warm and freshly made. The aroma of toasted oats and nuts, mixed with a hint of honey or maple syrup, can brighten even the gloomiest of workdays.
-
Cost-Effective: Making your own granola bars can also be budget-friendly. A few simple ingredients can produce a batch of healthy snacks, often costing less than store-bought alternatives.
By making your own granola bars, you’re not just preparing a nutritious snack. You’re embarking on an enjoyable culinary journey that leads to a healthier lifestyle and a palate that’s truly satisfied. Now that we’ve established how special these bars can be, let’s dive into what you’ll need to create your very own batch!
Key Ingredients for Granola Bars
Creating your own granola bars at home is a journey that blends nutrition and creativity. With a handful of wholesome ingredients, you can craft a snack that’s not only delicious but also tailored to your taste preferences.
-
Oats: Rolled oats are the foundation of any good granola bar. They provide that chewy texture and are packed with fiber, making you feel fuller for longer. Opt for old-fashioned oats for the best results.
-
Nuts and Seeds: Almonds, walnuts, or sunflower seeds add a satisfying crunch and deliver healthy fats and protein. Feel free to mix and match based on what you have on hand or your favorite flavors.
-
Sweetener: Honey or maple syrup is essential for binding the ingredients together and adding sweetness. They also lend a lovely caramelized flavor, elevating your granola bars to new heights.
-
Fruits: Dried fruits like cranberries or apricots contribute natural sweetness and chewiness. They brighten up the bars, making every bite enjoyable.
-
Nut Butter: Adding nut butter, such as almond or peanut butter, helps with binding while providing richness. It’s a fantastic way to incorporate extra protein and flavor.
By carefully selecting these key ingredients, you’re well on your way to creating perfect granola bars that satisfy your cravings and keep you energized throughout the day.
Why You’ll Love These Granola Bars
There’s something incredibly satisfying about a homemade batch of granola bars. Picture this: you’re running out the door, coffee in one hand, and your keys in the other. Instead of settling for a store-bought snack that leaves you hungry an hour later, you grab one of these delightful bars. Not only are they packed with wholesome ingredients, but they also satisfy your cravings without any guilt.
Nourishing Ingredients
These granola bars are crafted with intention.
-
Oats: Rolled oats form the base of this recipe, providing fiber and energy. They keep you feeling full and are a perfect blank canvas for additional flavors.
-
Nuts and Seeds: Feel free to mix and match your favorites—almonds, walnuts, or sunflower seeds add crunch and healthy fats, making these bars a powerhouse of nutrition.
-
Natural Sweeteners: Instead of processed sugars, I prefer using honey or maple syrup. They not only lend sweetness but also contribute moisture, creating a chewy texture that you’ll love.
What sets these bars apart is their versatility. You can play with flavors by adding dried fruits, chocolate chips, or even a sprinkle of cinnamon. Each bite tells a tasty story, tailored to your preferences.
By making these granola bars at home, you’re not just snacking—you’re nourishing your body with goodness while enjoying every moment. Whether you’re at the office or out on a hike, these bars are your perfect companion.
Tips for Making Perfect Granola Bars
Creating granola bars that are both delicious and nutritious can be an enjoyable challenge. Here are some essential tips to guide you through the process:
Start with Quality Ingredients
Choosing the right base ingredients is key. Opt for old-fashioned rolled oats for a chewy texture. They provide a wholesome foundation and are rich in fiber, which keeps you feeling full longer.
Don’t Skip the Binder
Finding the right binder to hold your granola bars together is vital. I recommend using a mix of honey and nut butter. Honey adds sweetness and stickiness, while nut butter contributes healthy fats, enhancing texture and flavor.
Experiment with Mix-Ins
Feel free to customize your granola bars with various mix-ins. Consider dried fruits, dark chocolate chips, or seeds. A combination of flavors not only adds crunch but also keeps your bars interesting and delicious.
Use the Right Pan
The pan you choose plays a crucial role in how your granola bars turn out. Opt for a parchment-lined baking dish, which allows for easy removal after baking. Pressing the mixture firmly into the pan ensures they hold their shape once sliced.
Cool and Slice
Allow your granola bars to cool completely before slicing. This step helps them firm up, making it easier to achieve clean cuts. If you’re feeling creative, try cutting them into fun shapes for an added touch!
By keeping these tips in mind, you’re well on your way to mastering homemade granola bars that can be enjoyed at any time of day. Enjoy the process!
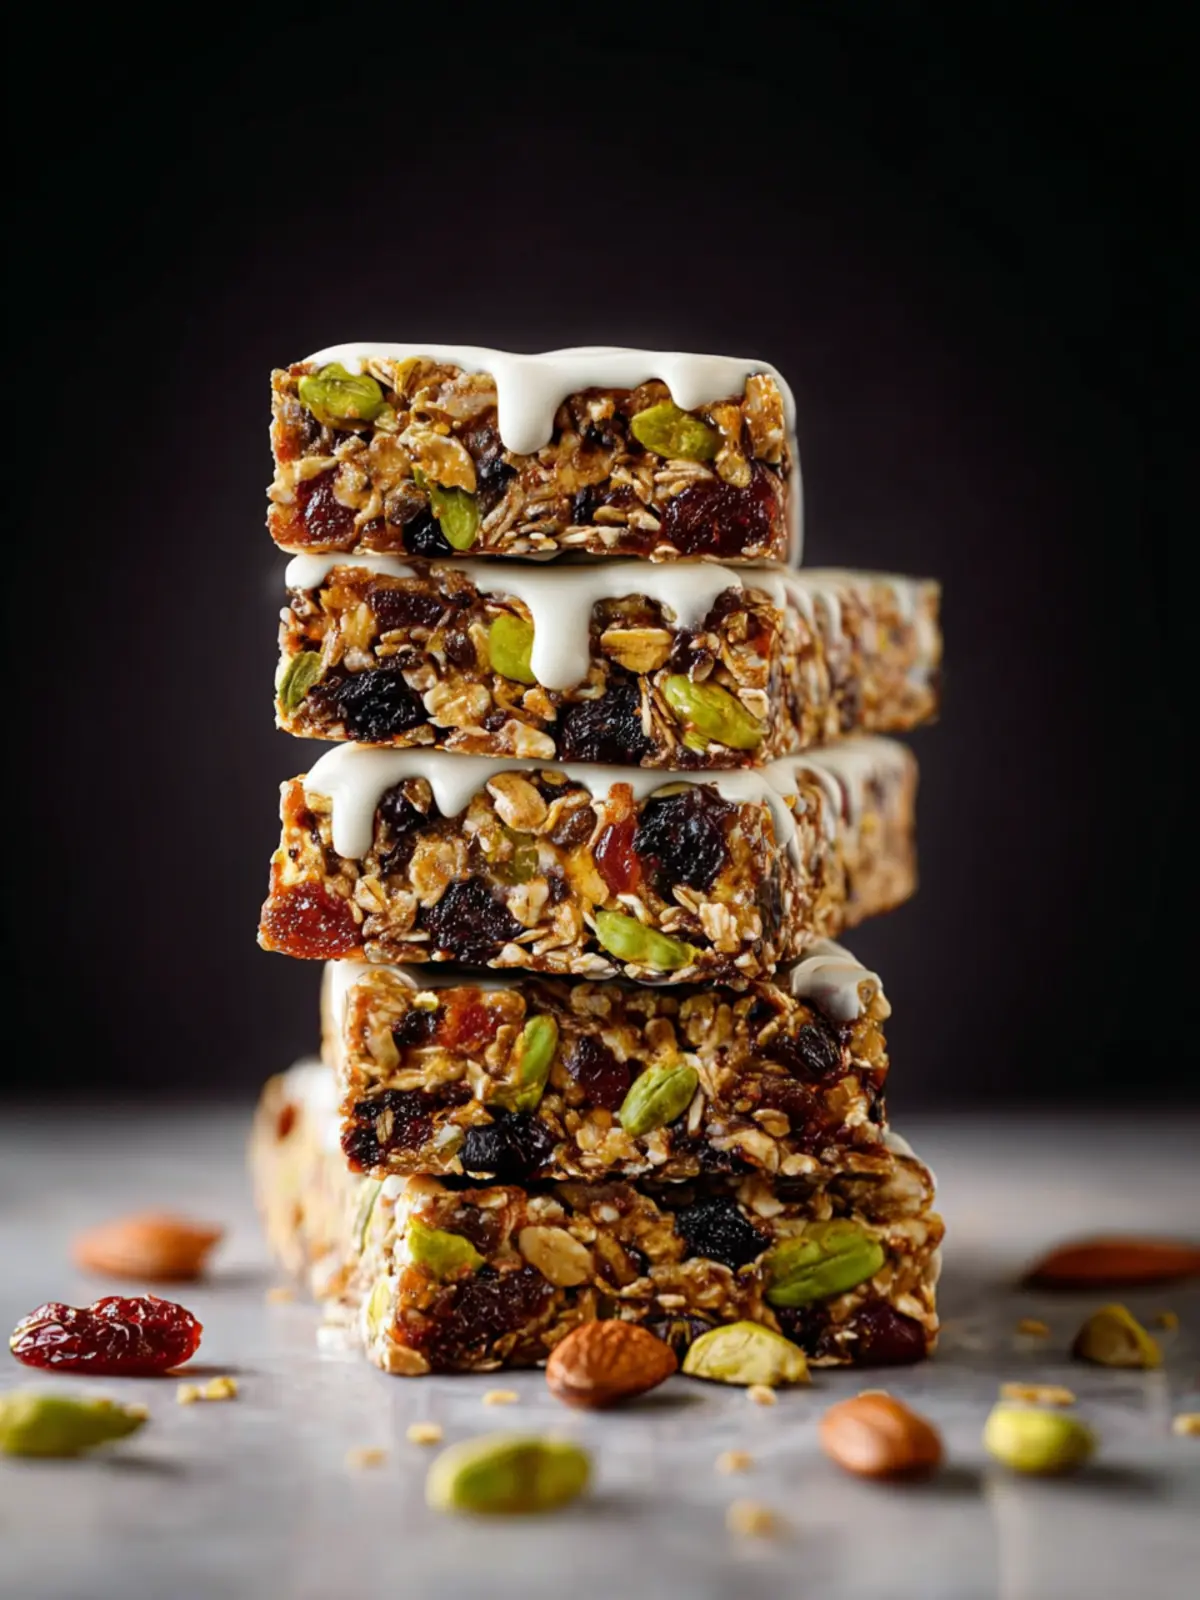
Variations on Granola Bars
Granola bars are not just a one-size-fits-all snack; they are a canvas for creativity in the kitchen. The beauty of making your own granola bars lies in the ability to tailor them to your taste preferences and dietary needs. Whether you’re aiming for a protein punch or a sweet treat that satisfies your cravings, the variations are endless.
Nutty Combinations
- Nuts and Seeds: Experiment with a variety of nuts like almonds, walnuts, or pecans for that satisfying crunch. Seeds such as pumpkin or sunflower seeds not only add texture but also pack a nutritional punch.
Sweet Additions
- Dried Fruits: Adding pieces of dried fruit like cranberries, apricots, or even banana chips elevates the flavor and sweetness of your bars. The chewy texture contrasts beautifully with the crunchy oats.
Flavor Boosters
- Spices and Extracts: A dash of cinnamon or a splash of vanilla extract can imbue your granola bars with warmth and depth. For an exotic twist, consider adding a pinch of cardamom or ginger.
Chocolate Drizzle
- Chocolate Variations: Who doesn’t love a little chocolate? Melted dark chocolate or white chocolate drizzled over the top not only enhances the visual appeal but adds an indulgent treat to your nutritious snack.
Embrace these ideas to make your granola bars uniquely yours! With a little experimentation, you can discover combinations that are not only delicious but also align perfectly with your lifestyle.
Time Breakdown for Granola Bars
Making homemade granola bars is as rewarding as it is delicious. In less than an hour, you can create a snack that nourishes your body and delights your taste buds. Here’s how the timeline breaks down:
Preparation Time
Dedicating about 15 minutes to gather and combine your ingredients ensures a smooth process. When you’re quickly stirring together oats, nuts, and honey, you’ll see how effortless this snack can be.
Chilling Time
After pouring your mixture into a lined baking dish, give it at least 30 minutes in the fridge. This chilling time is crucial for helping the bars set, making them easy to slice and serve.
Total Time
From start to finish, you’re looking at about 45 minutes, which includes both preparation and chilling. These granola bars can become a quick go-to snack in your busy lifestyle!
Nutritional Facts for Granola Bars
Crafting the perfect granola bars not only satisfies your snack cravings but also brings a medley of nutrients to your day. Here’s a closer look at what you’re indulging in with these delicious bars.
Calories
Typically, a single homemade granola bar ranges from 150 to 250 calories, depending on the ingredients used. This makes them a moderate snack that can fit well into a balanced diet.
Protein
These delightful snacks offer about 5 to 10 grams of protein per bar, primarily from nuts, seeds, and any added protein sources. It’s a fantastic way to fuel your body, especially after a workout or as a mid-afternoon boost.
Fiber
Packed with whole grains and dried fruits, granola bars usually contain around 3 to 5 grams of dietary fiber. This vital nutrient helps promote healthy digestion and keeps you feeling full for longer.
When you enjoy a granola bar, it’s more than just a snack—it’s a step towards a healthier lifestyle.
FAQs about Granola Bars
When diving into the world of granola bars, questions often arise. These beloved snacks are not just quick treats; they can be customized and stored with ease. Whether you’re munching on them during a busy workday or packing them for outdoor adventures, knowing how to best handle homemade granola bars can enhance your snacking experience.
How do I store homemade granola bars?
To keep your granola bars fresh, it’s essential to store them properly. Use an airtight container and place them in a cool, dry area like your pantry. If you’re looking to extend their shelf life, you can store them in the fridge for about a week, or freeze them for up to three months. Before enjoying, just let them sit at room temperature for a few minutes!
Can I customize ingredients in my granola bars?
Absolutely! One of the best parts about making your own granola bars is the ability to tailor them to your taste. You can swap in your favorite nuts, seeds, or dried fruits. Want a protein boost? Add some nut butter or protein powder. Prefer a touch of sweetness? Drizzle in honey or maple syrup. The possibilities are truly endless!
Are these bars suitable for kids?
Yes, granola bars are generally kid-friendly, making them a great snack option. They’re packed with whole grains, nuts, and natural sugars that can provide energy for school or playtime. Plus, letting kids help customize the bars with their favorite ingredients can make it a fun family activity. Just be mindful of any nut allergies when sharing with friends or classmates!
Conclusion on Granola Bars
In the world of nutritious snacking, granola bars stand out as a convenient and delicious option that never disappoints. They are not just fuel for your busy day; they can also bring a sense of joy when made at home with wholesome ingredients tailored to your taste. Whether you prefer a chewy texture or a crunchy bite, creating your own granola bars empowers you to choose flavors that resonate with you. So, why not embrace the homemade route? Try this recipe, experiment with different mix-ins, and let each bite transport you to a healthier, happier snacking experience. Your taste buds will thank you!
Print
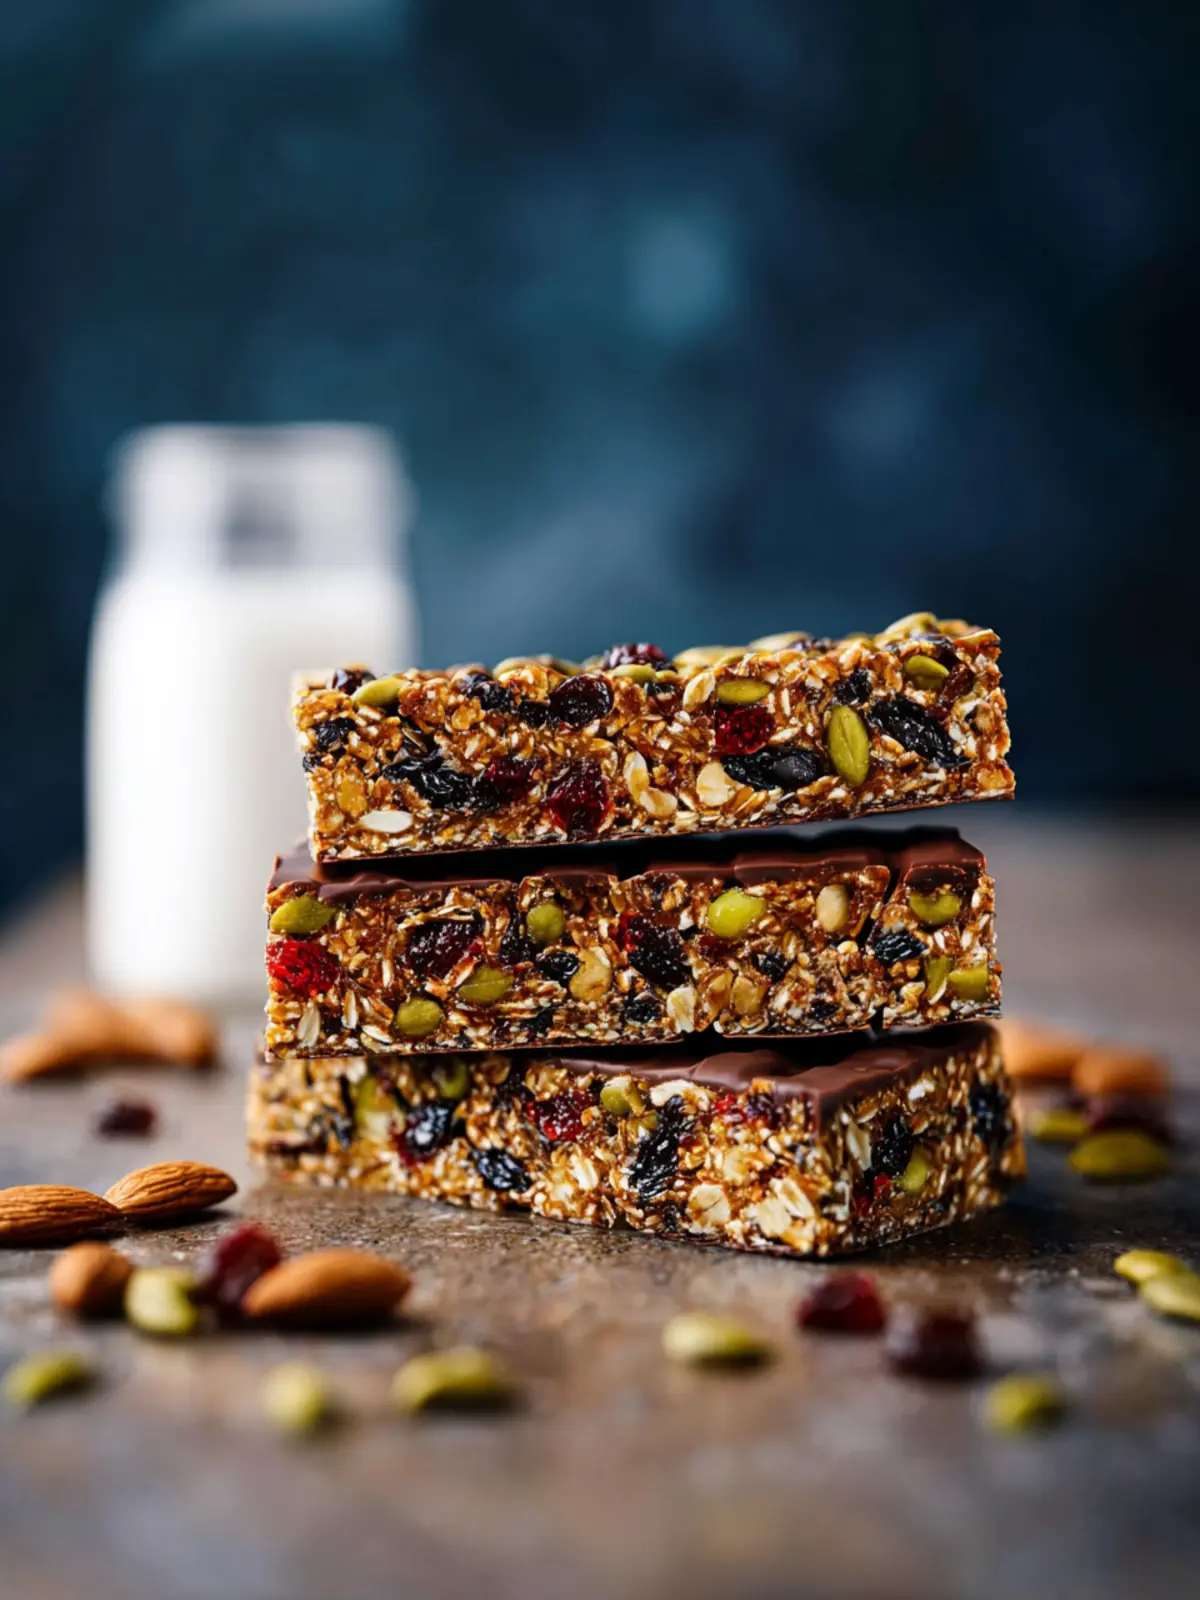
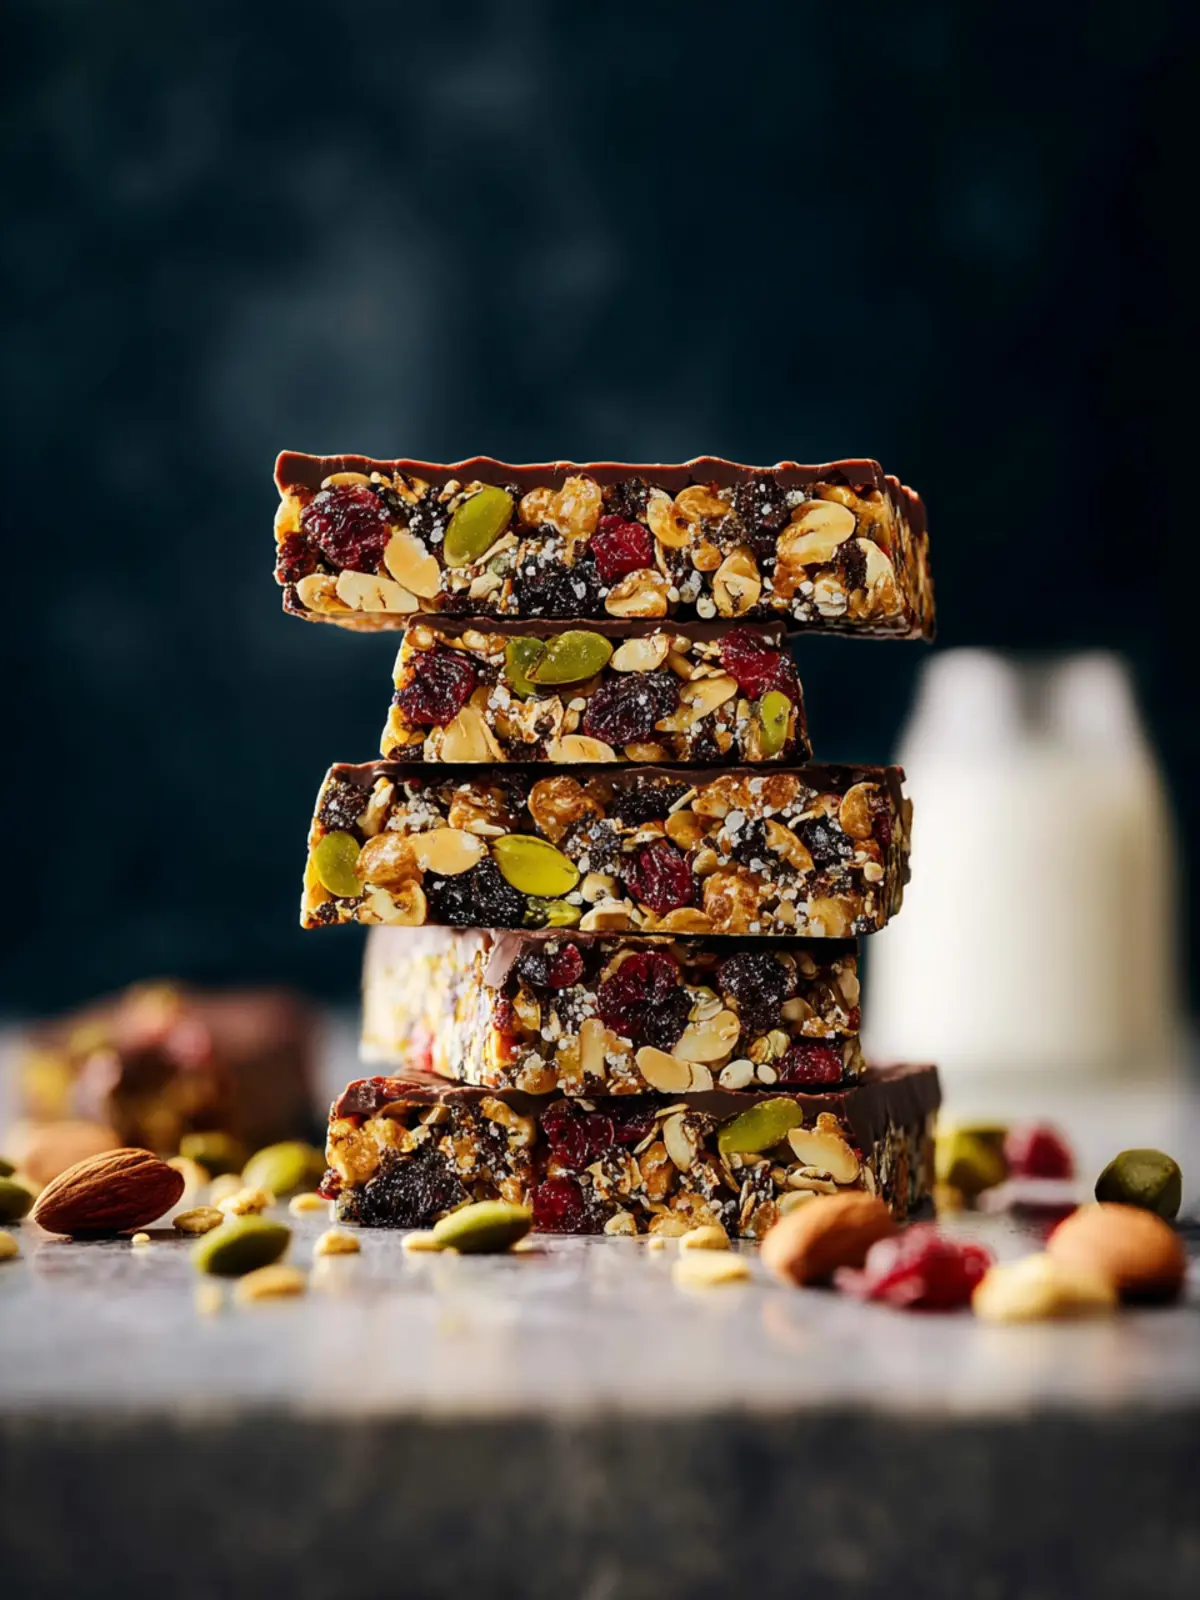
Chocolate Chip Date Bars
- Total Time: 45 minutes
- Yield: 16 bars 1x
- Diet: Vegetarian
Description
Deliciously chewy bars made with pitted dates, oats, and chocolate chips.
Ingredients
Scale
- 1 cup packed pitted dates
- 1/3 cup creamy peanut butter
- 1/3 cup maple syrup
- 1 teaspoon vanilla extract
- 1/2 cup quick oats (the one-minute kind)
- 1 cup old-fashioned oats
- 3/4 cup roasted and salted pistachios (coarsely chopped)
- 1/2 cup mini chocolate chips
- 1 cup chocolate chips (dark or milk chocolate)
- 2 teaspoons coconut oil
Instructions
- Line an 8×8-inch pan with parchment paper or foil, adding an overhang for easy removal. Don’t spray with cooking spray as it makes these bars greasy. Set aside.
- In a small blender or food processor, pulse the pitted dates to create a very thick and sticky paste. This takes some patience; stir with a spoon and re-blend as needed.
- Scoop out every last bit of the date paste and add to a large bowl. Add in peanut butter, maple syrup, and vanilla extract. Use a hand mixer to beat until combined.
- Stir in the quick oats, old-fashioned oats, mini chocolate chips, and coarsely chopped pistachios. (If the pistachios and peanut butter aren’t salted, add a scant 1/4 teaspoon salt too.) Mix until thoroughly combined. If needed, knead the mixture with your hands to get a well-combined and incorporated mixture.
- Transfer the mixture into the prepared baking pan and very firmly press the mixture into an even layer. Use the bottom of a flat 1 cup measuring cup to help firmly press. Set aside.
- In a large, microwave-safe bowl, combine the chocolate chips and coconut oil (measured when the oil is in a hardened state). Microwave in bursts of 15 seconds, stirring between each burst for 15 seconds, until melted and smooth. Pour melted chocolate evenly over the bars and tip the pan around to create an even layer of chocolate on top. Cover and refrigerate until the chocolate is completely set.
- Using the parchment-paper overhang, remove the bars from the pan and cut into equal-sized bars. Store leftover bars in the fridge, covered, for up to 1 week.
Notes
- See note 1: Pitted dates can be blended into a smooth paste.
- See note 2: Use roasted and salted pistachios for best flavor.
- See note 3: Mini chocolate chips can be replaced with regular chocolate chips if preferred.
- Prep Time: 15 minutes
- Cook Time: 0 minutes
- Category: Snack
- Method: No Bake
- Cuisine: American
Nutrition
- Serving Size: 1 bar
- Calories: 200
- Sugar: 14g
- Sodium: 100mg
- Fat: 10g
- Saturated Fat: 2g
- Unsaturated Fat: 8g
- Trans Fat: 0g
- Carbohydrates: 25g
- Fiber: 3g
- Protein: 5g
- Cholesterol: 0mg