Follow Me On Social Media!
Stabilized Whipped Cream Frosting: The Best Ever Recipe!
Introduction to Stabilized Whipped Cream Frosting
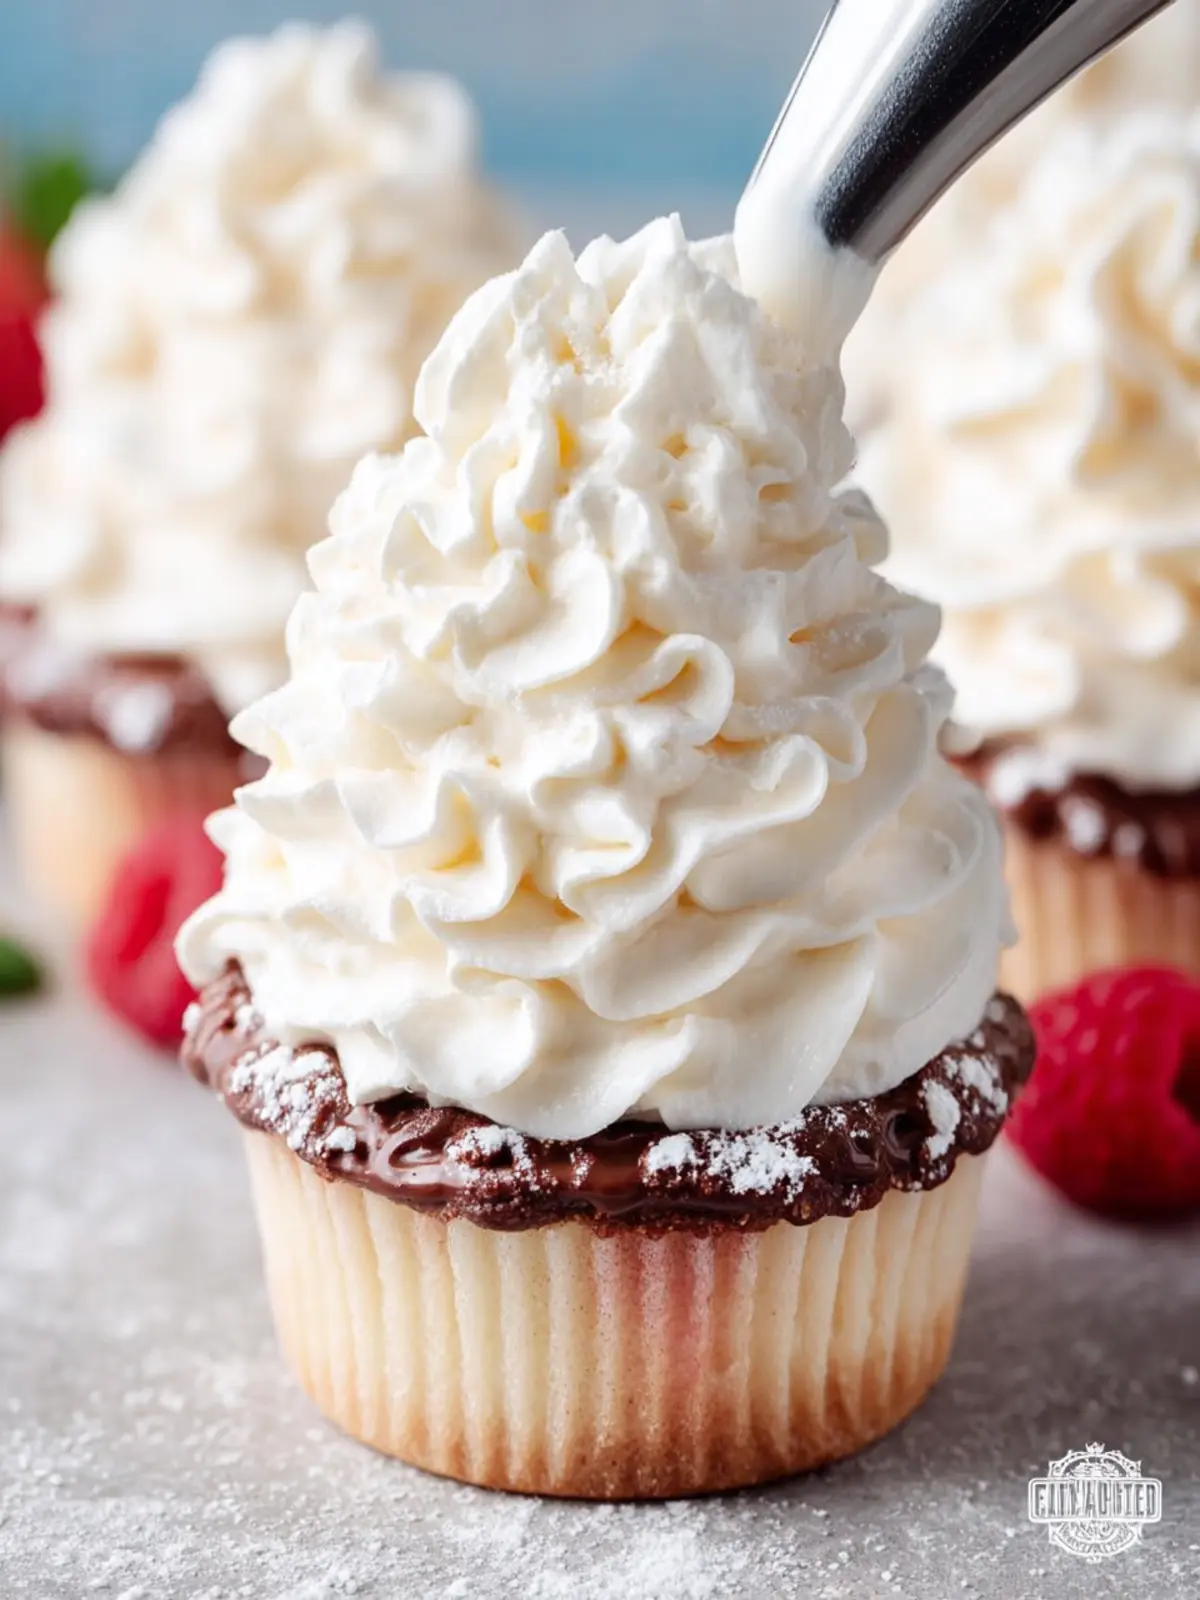
Stabilized whipped cream frosting is a game-changer for anyone who loves to add a light yet decadent touch to their desserts. Picture this: a fluffy, cloud-like topping that holds its shape beautifully, even on the hottest summer days. Whether you’re planning a birthday cake, hosting a brunch, or simply indulging in a sweet treat, stabilized whipped cream frosting is the perfect companion. As someone who has navigated through numerous layers of cake and frosting, I can assure you that this luscious frosting not only enhances the visual appeal of your confections but also delivers a delightful taste experience that’s hard to resist.
What exactly differentiates stabilized whipped cream frosting from traditional whipped cream? The answer lies in its unique ingredients and preparation method. While classic whipped cream can lose its form within hours, stabilized frosting incorporates ingredients such as gelatin or cornstarch to ensure it maintains its structure for a longer period, allowing for beautiful piping and decorative finishes.
This frosting is your go-to solution for:
- Layered cakes: Create stunning multi-tiered cakes without worrying about your frosting melting or sliding off.
- Cupcakes: For a bakery-quality look, pipe this frosting onto cupcakes for a professional finish.
- Fruit desserts: Pair this airy frosting atop fruit tarts or pavlovas to add a touch of creaminess without overpowering the flavors.
In addition to its practical benefits, stabilized whipped cream frosting is surprisingly simple to make. It blends seamlessly with various flavor profiles, allowing you to incorporate extracts, zests, or even chocolate for custom variations.
As you venture into the world of baking, mastering this frosting technique will elevate not just your desserts but also your confidence in the kitchen. Imagine impressing friends and family with your beautiful creations, all thanks to the magic of stabilized whipped cream frosting. Ready to dive into the recipe? Let’s get started on this sweet journey!
Key Ingredients for Stabilized Whipped Cream Frosting
Crafting the perfect stabilized whipped cream frosting is a delightful culinary adventure, transforming ordinary desserts into extraordinary treats. Each key ingredient plays a pivotal role in ensuring your frosting maintains that luscious texture and stability.
-
Heavy Cream: The foundation of our frosting, heavy cream is chosen for its high-fat content, allowing for that beautifully airy texture. It’s essential to start with chilled cream; this makes whipping effortless and leads to better volume.
-
Powdered Sugar: I prefer using powdered sugar instead of granulated sugar. It effortlessly dissolves, providing sweetness without grittiness. This also helps the frosting achieve a smooth, velvety finish.
-
Vanilla Extract: For a touch of warmth and flavor, pure vanilla extract is my go-to. It elevates the overall taste of the frosting, making it a more enjoyable experience with every bite.
-
Unflavored Gelatin: Here lies the magic for stabilization! By dissolving unflavored gelatin in warm water, you create a binding agent that ensures your stabilized whipped cream frosting holds its shape during warm weather or extended periods.
-
Cold Water: Used to dissolve the gelatin, cold water helps in setting the gelatin while ensuring the whipped cream maintains its creamy consistency.
With these ingredients beautifully combined, you’re one step closer to impressing your guests with a frosting that not only looks stunning but tastes heavenly!
Why You’ll Love This Stabilized Whipped Cream Frosting
Creating the perfect dessert often hinges on the little details, and stabilized whipped cream frosting takes your cake and confectionery creations to the next level. Imagine a light, fluffy topping that maintains its shape, even on warm summer days; that’s the magic of this frosting.
Here are a few reasons why you’ll be reaching for this versatile recipe time and again:
-
Stability Meets Lightness: Unlike regular whipped cream, this frosting holds its texture beautifully over time. Thanks to the addition of stabilizers, it won’t weep or melt, making it ideal for layered cakes or elaborate desserts.
-
Classic Flavor with a Twist: The taste is undeniably rich yet light. It complements various flavors—think chocolate, vanilla, or even fruit-infused cakes. Your guests will rave about the delicate sweetness that doesn’t overpower.
-
Easy to Customize: One of my favorite aspects is how flexible it is. Whether you want to add a hint of vanilla, a splash of almond extract, or even a touch of citrus zest, your frosting can easily adapt to any cake or cupcake theme.
Incorporate this stabilized whipped cream frosting into your repertoire and watch it transform your baking game. It’s the perfect topping that’s both elegant and easy to prepare!
Tips for Making Perfect Stabilized Whipped Cream Frosting
Creating stabilized whipped cream frosting is like painting a canvas—the right techniques make your masterpiece pop! Here are some friendly tips to ensure your frosting turns out fluffy, durable, and absolutely delicious.
Choose the Right Cream
For your frosting, opt for heavy whipping cream with at least 36% fat content. This richness helps capture air during whipping, yielding the lightest texture.
Chill Your Equipment
It might sound a bit picky, but chilling your mixing bowl and beaters can make a world of difference. Placing them in the freezer for about 10-15 minutes beforehand will help the cream whip up faster and hold its shape longer.
Add Stabilizers Wisely
Using stabilizers like powdered sugar, cornstarch, or gelatin helps maintain the consistency of stabilized whipped cream frosting. If you’re using gelatin, dissolve one teaspoon in two tablespoons of water and let it cool before adding it to your whipped cream.
Whip to Soft Peaks
When you whip your cream, aim for soft peaks rather than stiff peaks. Overwhipping can lead to a grainy texture, so stop just as your cream begins to hold its shape but is still smooth.
Serve with Pride
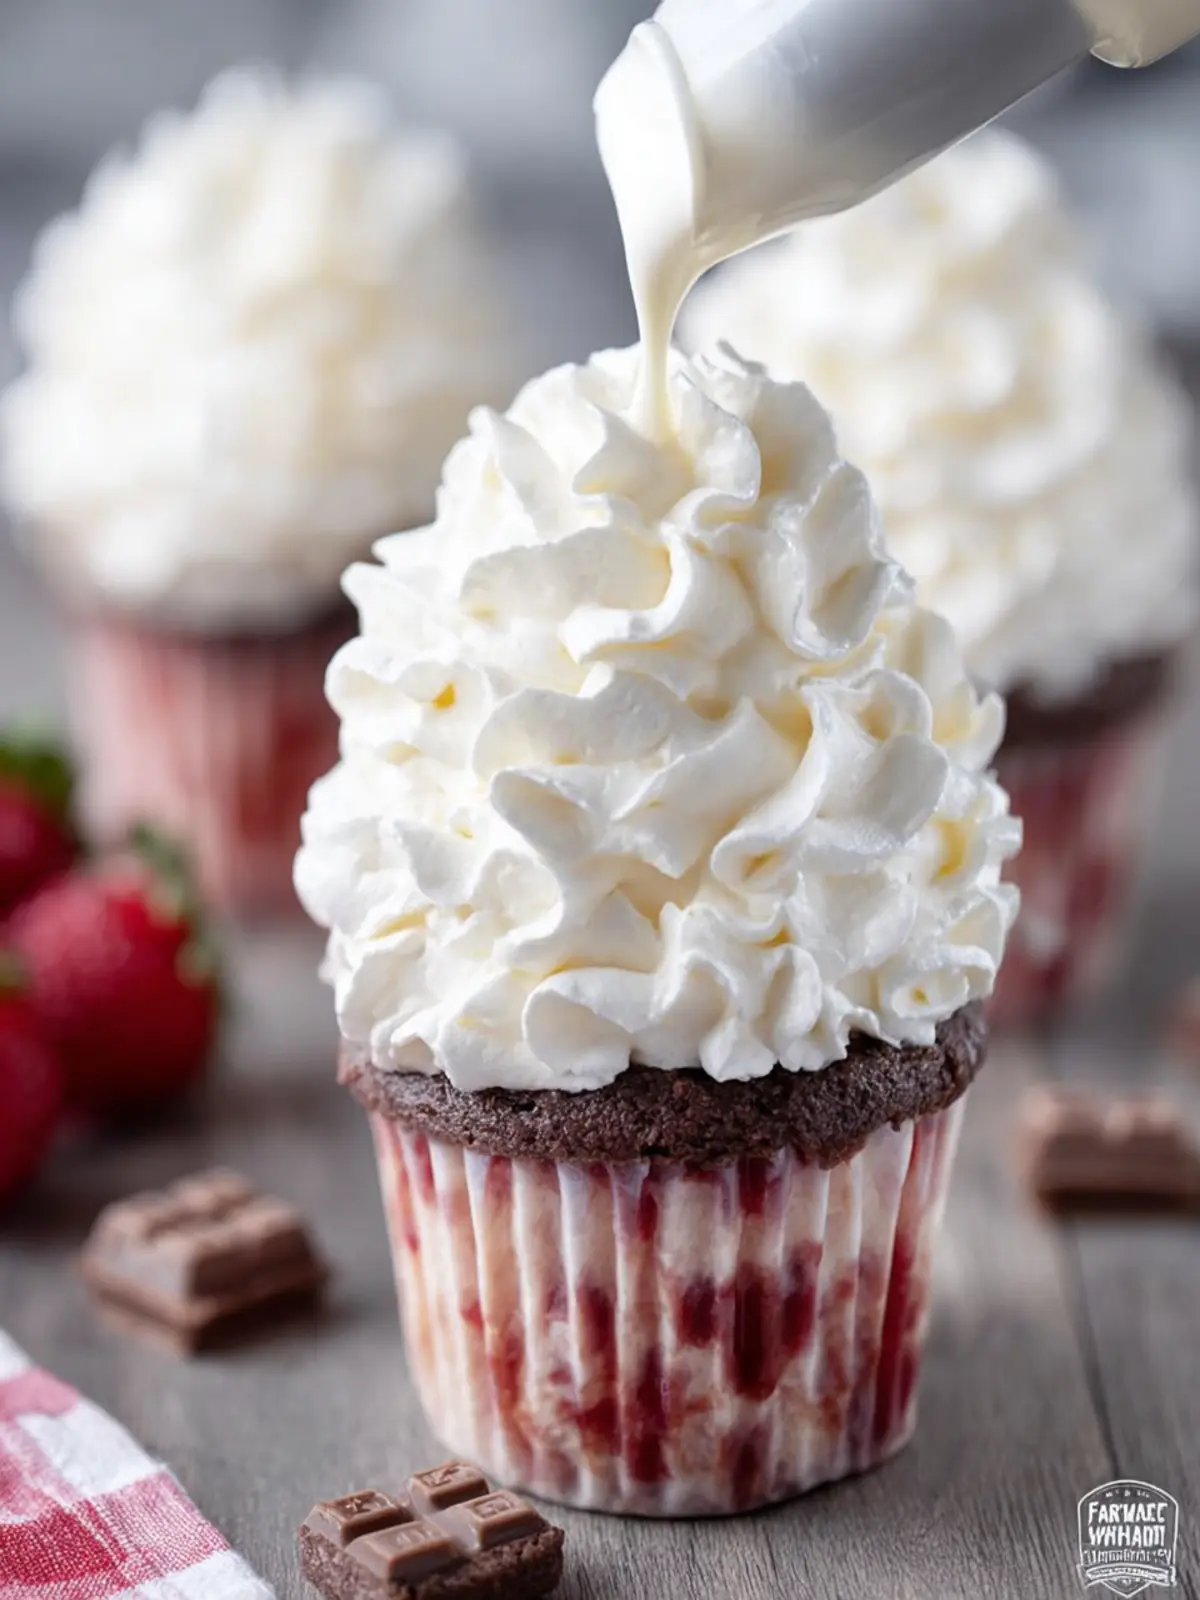
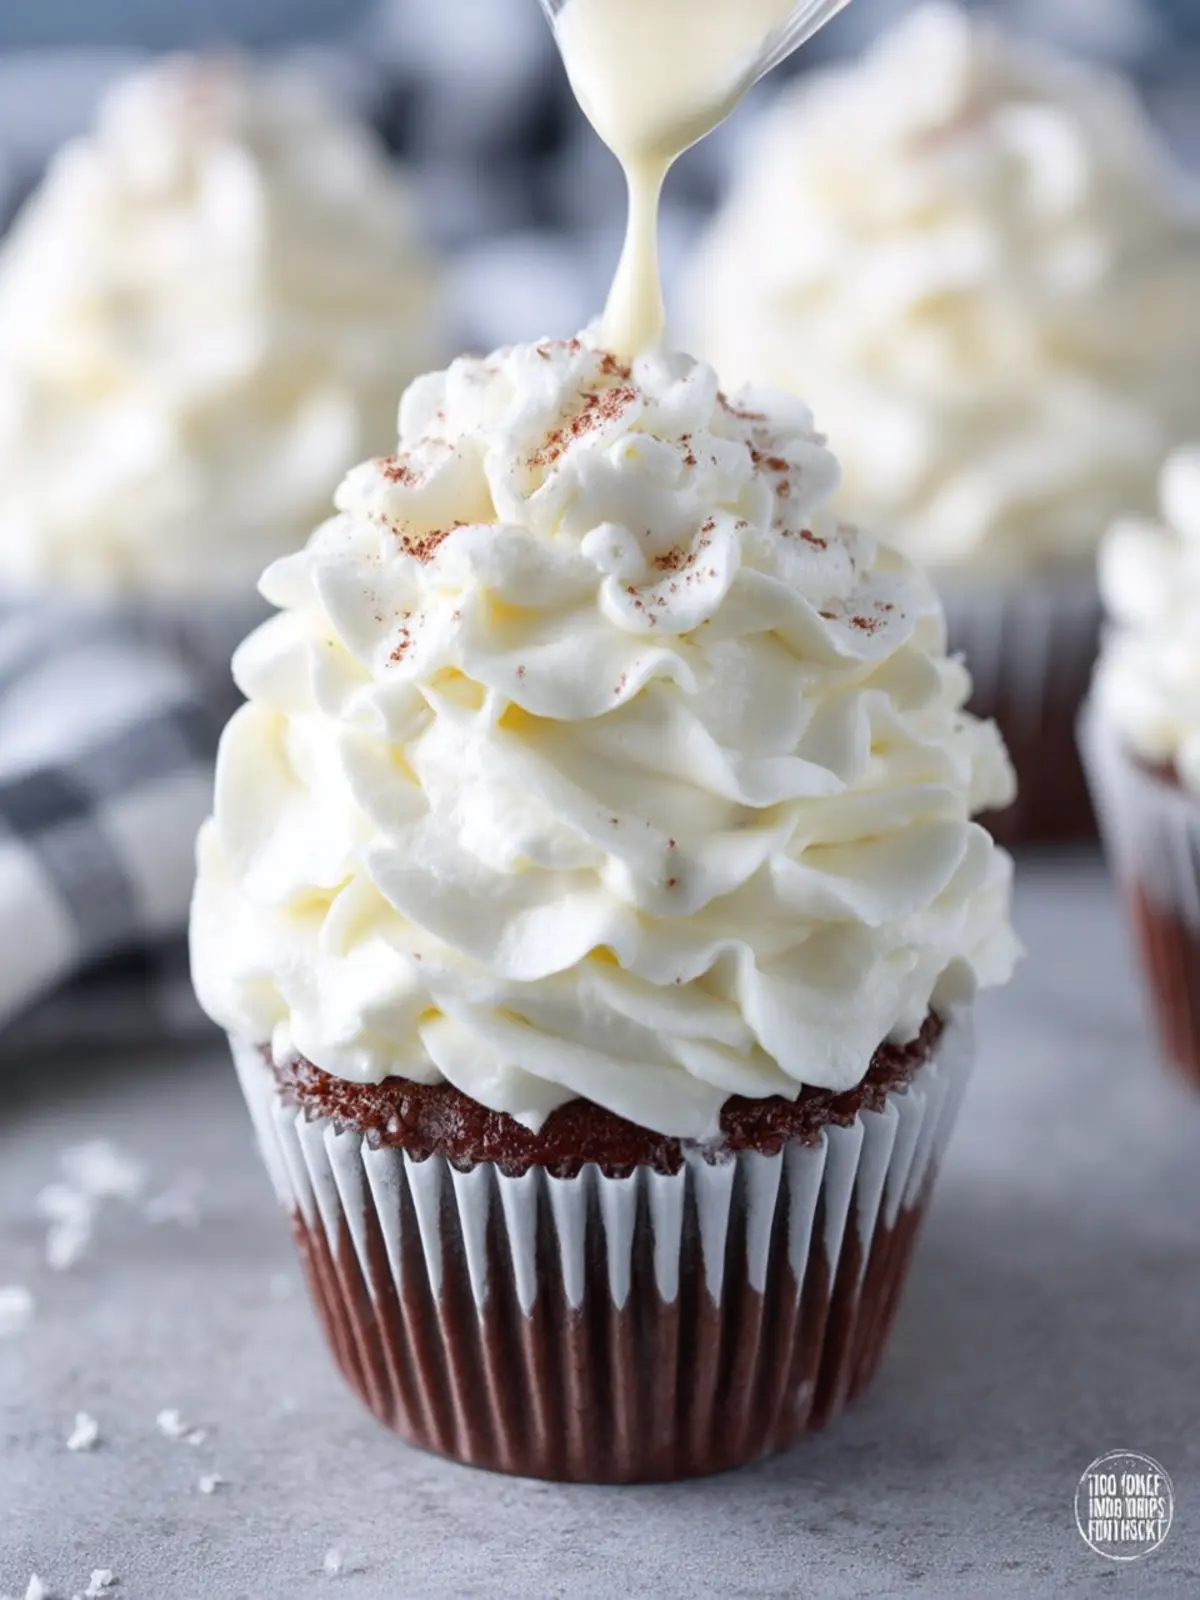
Once your stabilized whipped cream frosting is ready, use it immediately or keep it chilled until you’re ready to frost your cake or cupcakes. Your friends and family won’t believe how beautiful and delicious your creation turns out!
Time Details for Stabilized Whipped Cream Frosting
Creating your own stabilized whipped cream frosting at home is such a rewarding experience, and getting your timing right can make all the difference in the world. Here’s a quick breakdown of the timing involved:
Preparation Time
Gathering your ingredients and preparing everything will take about 10 minutes. This includes ensuring your mixing bowl and beaters are cold for the best results.
Mixing Time
Once you start mixing, it typically takes around 5 to 7 minutes to achieve that perfect, fluffy texture. You’ll know you’re there when soft peaks form!
Total Time
In total, you’ll be looking at approximately 15 to 20 minutes from start to finish. With this simple timing guide, you can enjoy your stabilized whipped cream frosting on cakes or cupcakes in no time!

Nutritional Information for Stabilized Whipped Cream Frosting
Stabilized whipped cream frosting is a delightful way to elevate your desserts, but understanding its nutritional profile is key. Here’s a breakdown of what you can expect in one serving of this luscious frost:
Calories
One serving contains approximately 100 calories, making it a charming addition without overwhelming your dessert.
Protein
You’ll get about 1 gram of protein per serving. While it’s not a significant protein source, it does contribute a bit of nourishment.
Sodium
Keep in mind that the sodium content sits around 10 mg per serving, making it a low-sodium option for frosting your favorite cakes and cupcakes.
By being aware of these details, you can enjoy your cake topped with stabilized whipped cream frosting without any guilt!
FAQs about Stabilized Whipped Cream Frosting
Stabilized whipped cream frosting is a delightful addition to cakes and desserts that not only enhances their appearance but also increases their longevity. Here’s a collection of frequently asked questions to help you make the most of this versatile frosting.
How long will stabilized whipped cream last?
One of the best features of stabilized whipped cream frosting is its longevity. When properly prepared and stored in the refrigerator, it can last up to 3 to 5 days. Just make sure to keep it in an airtight container to maintain its freshness and fluffiness. If you need to, you can also freeze it for up to a month. Just be aware that its texture might change slightly upon thawing, but it remains tasty!
Can I flavor my stabilized whipped cream with other extracts?
Absolutely! Stabilized whipped cream frosting is a blank canvas for flavors. Feel free to experiment with extracts such as almond, peppermint, or even citrus like lemon or orange. Just a teaspoon or two should suffice to infuse your frosting with unique flavors that complement your cakes or cupcakes.
Is it possible to make this frosting dairy-free?
Yes, you can create a dairy-free version of stabilized whipped cream frosting using coconut cream or non-dairy whipped topping. For a richer flavor, opt for full-fat coconut milk chilled overnight to separate the cream. Whip it as you would with regular cream, and you’ll have a delicious dairy-free alternative!
Incorporating these tips will have you well on your way to mastering the art of stabilized whipped cream frosting, elevating your baked goods with ease and style.
Conclusion on Stabilized Whipped Cream Frosting
Creating your own stabilized whipped cream frosting is a game-changer for anyone who loves to bake. Not only does it provide a deliciously creamy texture, but it also holds up beautifully, making it the perfect choice for all your cake and cupcake needs. Imagine the look on your friends’ faces when you serve a dessert topped with this light and airy frosting that stays perfectly in place.
With just a few simple ingredients and a little technique, you can elevate your baking to a whole new level. Whether you’re dressing up a birthday cake or a delightful dessert table, this frosting is sure to impress. It’s versatile, easy to make, and above all, delightfully tasty. So roll up your sleeves and whip it up—your future desserts will thank you!
Print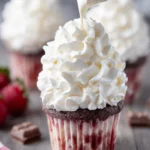
Whipped Cream Frosting
- Total Time: 10 minutes
- Yield: 4-5 cups 1x
Description
This delicious whipped cream frosting is perfect for cakes and desserts.
Ingredients
Scale
- 1 teaspoon unflavored gelatin (Knox Gelatine brand)
- 1 1/2 tablespoons cold water
- 1 1/2 cups heavy whipping cream (cold)
- 1/4–1/3 cup powdered sugar (depending on desired sweetness)
- 1 teaspoon vanilla extract
Instructions
- Place mixing bowl and whisk attachment or beaters in the refrigerator.
- In a microwave safe bowl, sprinkle gelatin over cold water. Let it sit for 5 minutes.
- Microwave gelatin for 8 seconds to bring back to a liquid consistency. Add another 2 seconds if it has any granules. Allow it to cool for a few minutes, but don’t let it go back to a solid.
- In the cold mixing bowl, whip heavy cream, powdered sugar and vanilla at medium speed for 1 minute.
- Turn mixer to high speed and drizzle gelatin into whipped cream. Once it’s all added, continue whisking and watch it closely until it reaches stiff peaks.
- Place in a piping bag or spread right away. Makes about 4-5 cups of frosting.
- Store frosted goods in refrigerator.
Notes
- See Notes for additional tips.
- Prep Time: 10 minutes
- Cook Time: 0 minutes
- Category: Dessert
- Method: No-Cook
- Cuisine: American
Nutrition
- Serving Size: 1/4 cup
- Calories: 50
- Sugar: 3g
- Sodium: 5mg
- Fat: 5g
- Saturated Fat: 3g
- Unsaturated Fat: 2g
- Trans Fat: 0g
- Carbohydrates: 5g
- Fiber: 0g
- Protein: 0g
- Cholesterol: 15mg